
The dream of homeownership is a universal aspiration, representing stability, security, and a canvas for personal life. Bringing this dream to fruition involves a complex, multi-staged process known as residential construction, a blend of art, engineering, and meticulous planning. Understanding this journey, from the initial sketch to the final coat of paint, offers valuable insight into the creation of the most personal of spaces: the home.
Phase I: Conceptualization and Design
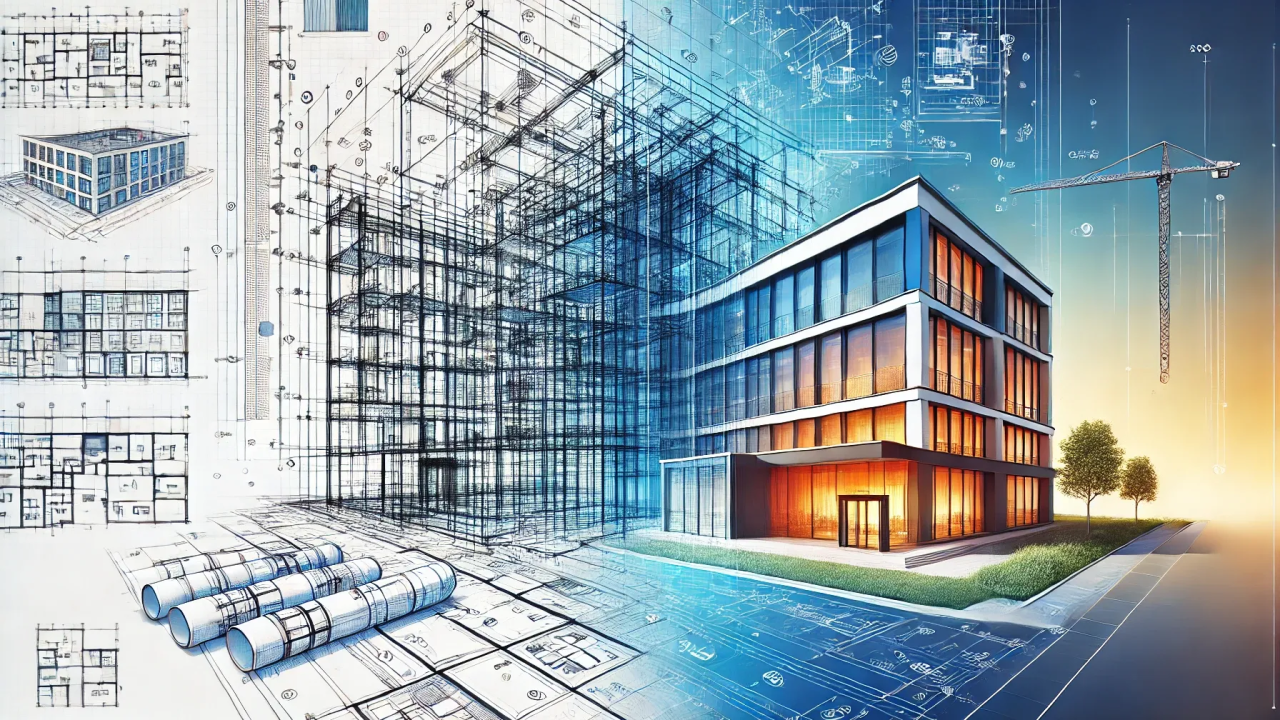
The construction process begins long before the first shovel breaks ground. This conceptualization and design phase is arguably the most critical, setting the tone for the entire project. It starts with the client’s vision, needs, and budget. An architect or a residential designer translates these requirements into preliminary sketches and, eventually, detailed blueprints.
This stage involves several key steps. First, site selection and analysis are crucial. The chosen land’s topography, soil composition, drainage, and orientation relative to the sun must be thoroughly evaluated, as these factors significantly influence the design and engineering requirements. Next, the design team ensures the plans comply with all local zoning laws, building codes, and permit requirements, which can often be a protracted bureaucratic process. The final blueprints must detail everything from the foundation specifications to electrical wiring diagrams and plumbing layouts. In modern construction, sustainability and energy efficiency are often integrated here, leading to choices like passive solar design, optimal insulation R-values, and the incorporation of renewable energy systems.
Phase II: Site Preparation and Foundation
With approved plans and permits in hand, construction moves to the physical groundwork. The site preparation involves clearing the land, removing debris, and establishing a level grade. Heavy machinery is brought in to excavate the area for the foundation, utility lines, and any basement space.
The foundation is the literal and figurative bedrock of the entire structure; its proper installation is paramount to the home’s long-term integrity. Depending on the soil conditions and the house design, various foundation types may be chosen, such as a full basement, a crawl space, or a concrete slab-on-grade . Once the footing—the wider, supporting base—is poured, the foundation walls are constructed, often using poured concrete or concrete blocks. Before backfilling the excavation, waterproofing membranes are applied, and perimeter drains are installed to prevent moisture intrusion, a common cause of structural issues and mold growth later on.
Phase III: Framing and Rough-Ins
The framing stage transforms the flat foundation into a three-dimensional skeleton. This involves constructing the floor, wall, and roof systems, typically using wood lumber or, less commonly, light-gauge steel. Sheathing—plywood or oriented strand board (OSB) panels—is then attached to the exterior of the walls and roof trusses, adding structural rigidity and a surface for exterior finishes. This is when the house truly begins to take shape, allowing one to walk through the future rooms.
Following the framing, the house enters the “rough-in” phase. This critical stage involves installing the various hidden utility systems within the walls, floors, and ceilings before the interior finishes are applied. This includes:
- Rough Plumbing: Installation of all supply and drain lines, vent pipes, and fixture connections.
- Rough Electrical: Running all wiring for lights, outlets, switches, and major appliances, as well as the main service panel.
- HVAC (Heating, Ventilation, and Air Conditioning): Installing ductwork, vents, and the main system components.
These rough-ins are inspected by local authorities to ensure compliance with code before the next steps can proceed, guaranteeing safety and functionality.
Phase IV: Exterior and Interior Finishing
Once the rough-ins are complete and approved, the focus shifts to enclosing and detailing the structure. The exterior process begins with roofing materials, followed by the installation of windows and exterior doors, creating a weatherproof envelope. This is a crucial step for energy efficiency and protecting the interior from the elements. Exterior finishes, known as siding or cladding—be it brick, stone, wood, stucco, or vinyl—are then applied, giving the home its final aesthetic appearance.
Simultaneously, the interior is prepared. Insulation is installed in walls, ceilings, and floors to regulate temperature and sound. Next, drywall (gypsum board) is hung, taped, and mudded to create smooth interior wall and ceiling surfaces, ready for paint or other wall coverings.
The final stage of construction involves the finish work:
- Interior Trim: Installing baseboards, crown molding, window casings, and door frames.
- Flooring: Laying hardwood, tile, carpet, or other floor coverings.
- Cabinetry and Countertops: Installing kitchen and bathroom fixtures.
- Final Utility Fixtures: Connecting light fixtures, outlets, switches, plumbing faucets, toilets, and major appliances.
- Painting: Applying the final paint to the walls and trim.
Phase V: Final Inspections and Handover
The construction journey culminates in a series of final inspections. Building inspectors verify that all work meets safety standards and aligns with the approved blueprints and codes. Once all checks are passed, a Certificate of Occupancy is issued, legally permitting residents to live in the home.
The final step is the walkthrough with the homeowner, where any minor defects or “punch list” items are noted and rectified by the builder. The keys are then officially handed over, marking the successful transition from a complex construction project to a brand-new, functioning home. Residential construction is a testament to skilled labor and collaborative effort, transforming raw materials and paper plans into a place that truly embodies the phrase, “There’s no place like home.”


